Adding Live Updates interactivity to a Module or WebApp Dynamic Section Layout
A step-by-step guide to taking a module/webapp dynamic section layout and adding Live Updates markup to enable advanced interactivity for the end-user.
Written By Matt Jones
Last updated 4 months ago
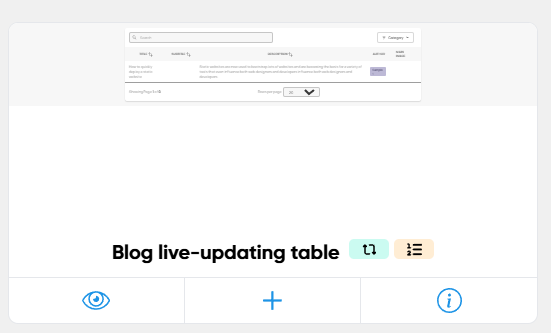
The quickest way to get started with the Live Updates API is to install a Studio Dynamic Section which already uses it. Look out for the teal 'Live-updates ready' tag

on the layouts, install and modify at will.
Pre-Requisites
Before starting this article, you should be familiar with creating a WebApp WebApp List Layout or Module About Blog & Authors layout, as that’s what we’ll use in the example.
For Webapp Layouts, we also recommend learning to use the use_wrapper parameter, since this alternative layout file structure is important when re-rendering.
1) Install either SiteBuilder or Studio Module
Firstly, make sure either the SiteBuilder Module or the Studio module is installed on your site.
The Studio Module is recommended for new sites, but you’re welcome to keep using the SiteBuilder module for older sites or to use other features we’ve not ported to Studio yet.
Adjusting the Examples for the SiteBuilder Module
This article will contain code examples which refer to ‘modules/357’ - this refers to the Studio module. If you don’t yet have the Studio module installed and are using the SiteBuilder module, please replace the ‘modules/357’ in all examples with ‘modules/86’. All includes exist in both modules, but you will need to use the correct path to get the files from the module you have installed.
2) Choose a webapp/module layout (also known as a Dynamic Studio Section) to make interactive
The most common use-case for this API is to make a module or webapp dynamic section interactive to the end-user.
It’s probably easiest to start with an existing layout and add interactive elements.
You can actually also use it with other types of content, but these won’t be directly covered by this article.
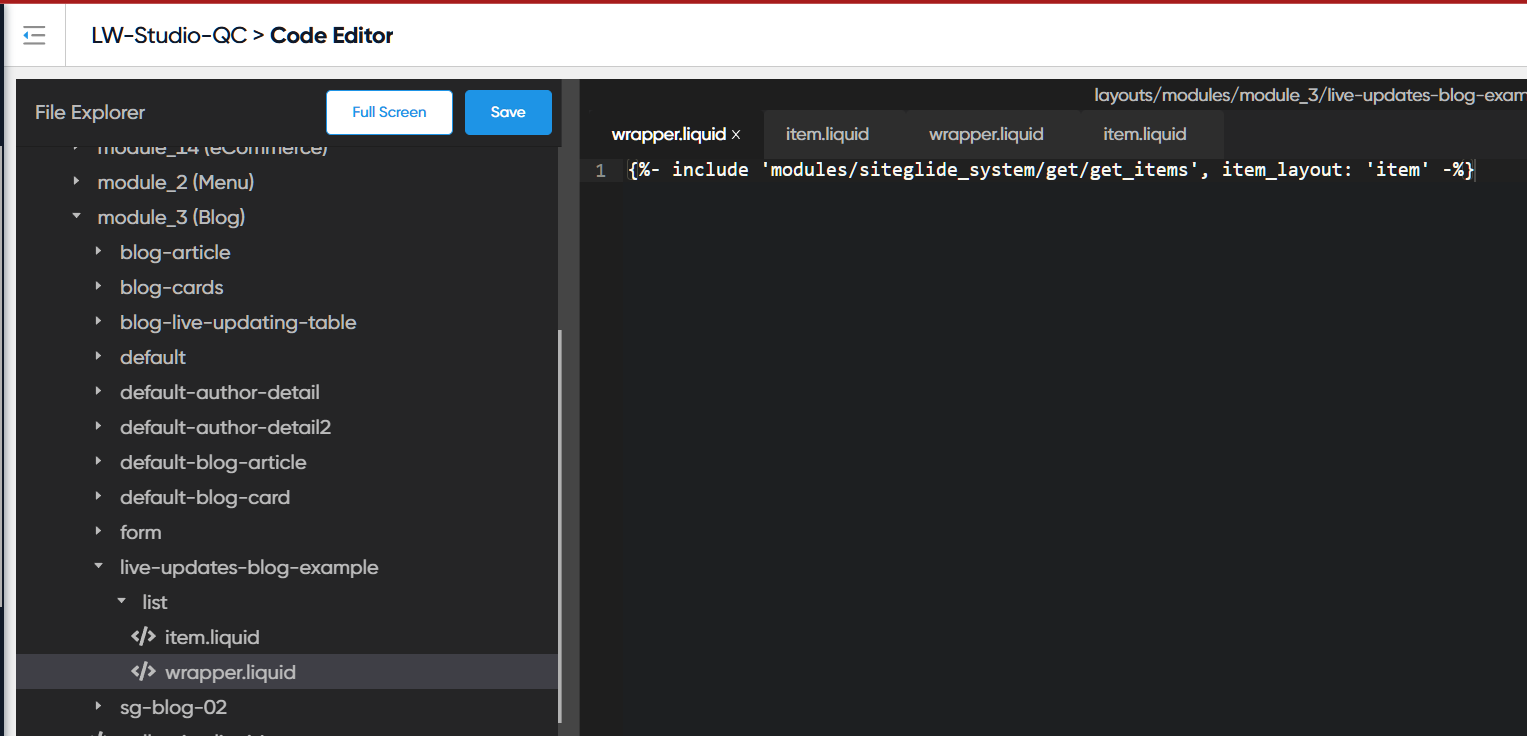
In Code Editor, or using the CLI, open up the wrapper and item Liquid files for an existing layout or create them for a new layout.
3) Get ready to test your layout
When you’ve chosen your layout, add an include tag to include your layout on a page where you can test your layout. If you like you can include this tag within a static Studio section’s code.
In this example, we’ve chosen a blog layout to work with, so we’ll include module_3 and our new layout.
Example{% include 'module', id: '3', layout: 'live-updates-blog-example' %}
The code you choose must not rely on inheriting any Liquid variables from higher up in the Page because those variables will not be available on the API endpoint Page. We can instead use hidden HTML fields to pass data across to the endpoint, which can be used when generating new HTML.
For example, in this example, while the foo variable may be available in the initial load, it won’t be available when the layout re-renders.
Example{% assign foo = true %} {% include 'module', id: '3', layout: 'live-updates-blog-example', foo: foo %}
4) Including the JavaScript
Next we need to, include the Live Updates JavaScript via CDN in the Page.
Having said that, it’s more efficient if only the sections which use Live Updates include it, and we make sure that if multiple sections use it, it’s only included once.
We recommend you use the Liquid in the example below inside the section you’re working on’s wrapper.liquid file; it helps to ensure that the JavaScript is only loaded once, even if used by multiple layouts, maintaining good performance.
5) Generate an API key using Liquid
At the top of a layout, you’ll start by using a function to generate an API key. The purpose of this key is to encrypt a set of instructions for what kind of layout you wish to re-render, so that it cannot be modified if a malicious user tries to view and re-create the requests in the network tab. See "Thinking about Security" Introducing the Live Updates API for why we use this.
At the top of this layout, in the wrapper file if it has one, you need to include the following Liquid function. If you're using an include tag which includes ‘webapp’ or ‘module’, these variables we pass as the parameter values, layout and _model will be inherited from the page. model might have the value of, for example, webapp_1.
Example{% function public_key = "modules/module_357/front_end/functions/v1/live_update_params_encode", layout: layout, model: _model, collection: 'false', creator_id: nil %}
Next, you should add a section HTML tag and a data-attribute to add the value of that public key into the HTML. The JavaScript will watch that data-attribute and use it to initialise the Live Updates listeners. Here is the full code example so far:
Exceptions when generating the public key
While this doc mostly covers re-rendering an include tag which uses the module or webapp include, it is worth mentioning here that there are modules which have slightly different include tags, such as some eCommerce tags. In this case, you will need to manually feed in the model_type parameter instead of model. For example, if you're using the following tag in the page:
Example{%- include 'ecommerce/cart', layout: 'c1' -%}
...then your public key function in the wrapper.liquid file should look like this:
Example{% function public_key = "modules/module_357/front_end/functions/v1/live_update_params_encode", layout: 'c1', model_type: 'ecommerce/cart', collection: 'false' %}
For alternative advanced setups of public key, see here: Using Live Updates with Custom Includes and optionally GraphQL
6) Outputting items in the module/webapp layout - recap
As always in a module/webapp wrapper file, we need to add the {%- include 'modules/siteglide_system/get/get_items', item_layout: 'item' -%} line of code which will render the database items. This may be slightly different in some types of module, such as eCommerce or menu, but check the docs for those types of tags.
7) Setting up a form area for user-interaction
We’re setting up Live Updates so that the section can smoothly respond to user-interaction, for example, filtering, sorting or searching; let’s add a form area with some controls the user can interact with.
To make this as easy as possible, Live Updates is designed to use semantic HTML elements to modify the next request to the server.
In this example, we show you can use as many different form areas as you like, and label each with the same data-sg-live-update-controls data-attribute. The value of the data-attribute can be anything, but see how for best practice we label what kind of controls these are- a search area and a filters area. Live Updates will watch all of your form areas, and if a change is made, all will be used simultaneously to build a request for fresh content.
If you like, you can use any kind of element for this, but form is more semantic and readable.
Inside each form area, you can use any valid HTML form input or select elements. The element's name attribute should correspond to the URL parameter (we’ll explain these more next) you wish the user to be able to change, while the value attribute of the element will set the parameter's initial value. The user can then change the value of the control in future through interaction.
URL Parameters Explained
When we add these form controls to the HTML, the JavaScript adds event listeners to watch for changes or inputs (depending on the type). These are throttled for performance reasons, but effectively every change will trigger a new HTTP request to the server. Opening up the browser network tab will help explain what is really happening:
Learn more about the network tab: https://developer.chrome.com/docs/devtools/network
When opening the network tab (Chrome in the example screenshot) you need to filter by XHR or fetch requests:
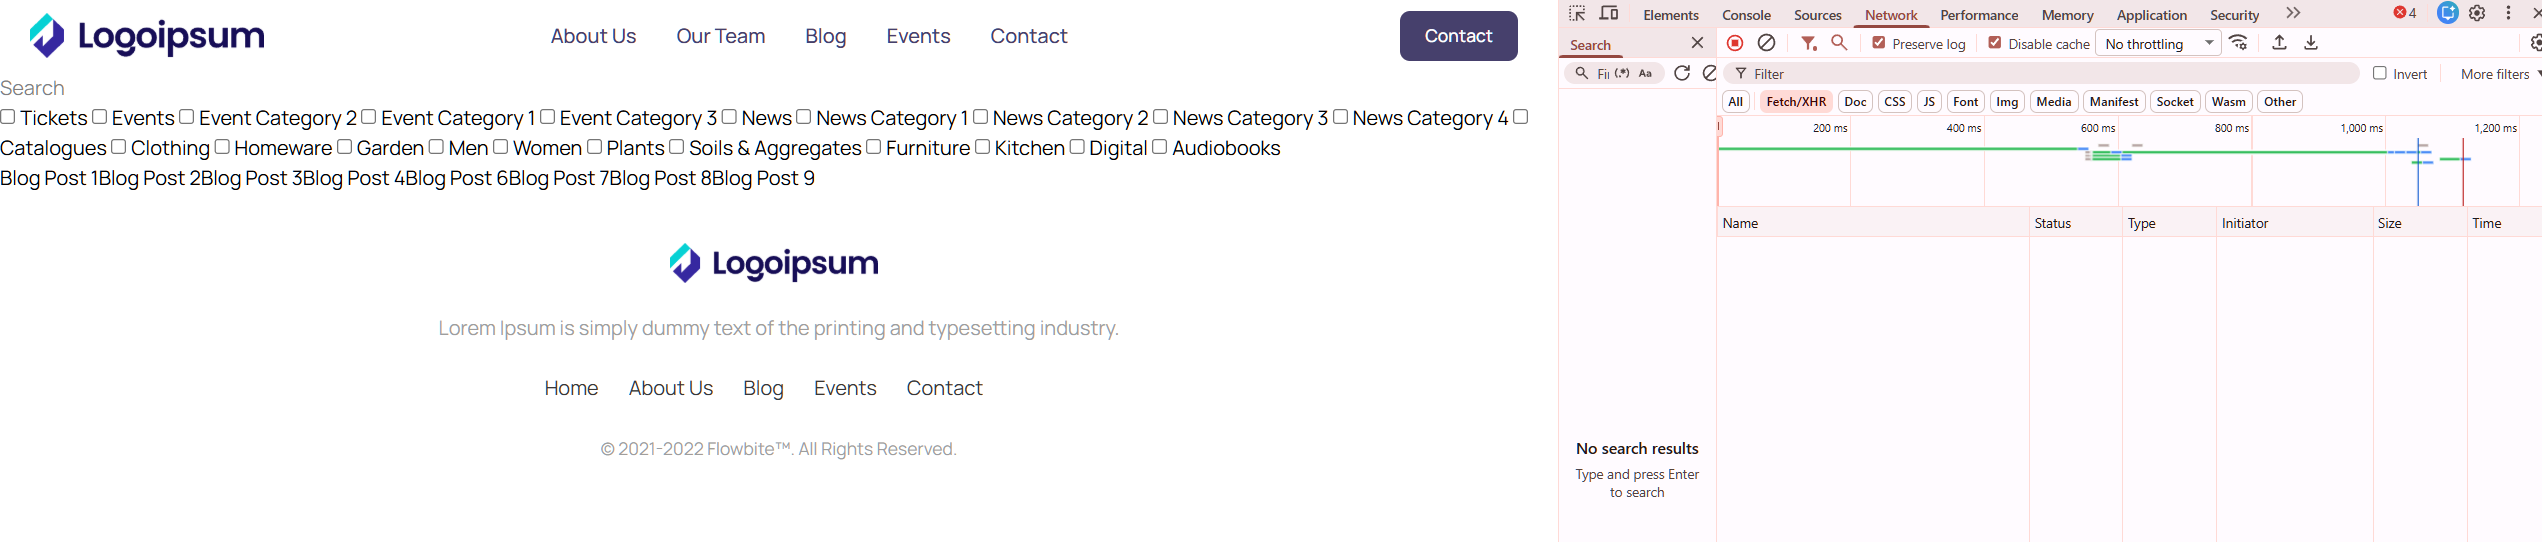
Next try entering a word in the search box. You’ll notice at least one request appear in the network tab (more than one if you type slowly, or pause in the middle of typing).
Then try checking one or more checkboxes.
Click on each of the requests ibn the network tab in turn and check the payload. As you interact with the forms, the payload changes e.g. for the search input, a keyword parameter is changed (matching the name and value of the HTML element). As you check a checkbox, a category parameter is sent in the payload.
However, there is currently a problem which needs solving. Since the entire section keeps getting re-rendered, we are losing the previous form control selections and only one payload parameter is added at a time. Let’s fix that now.
8) Define which area of the HTML should re-render
Replacing the entire layout in the DOM may not be ideal, as users interactions with the form will be interrupted by the change.
The API allows you to specify one or more "components" which should update when the data changes. Once you setup at least one “component”, the HTML in between (i.e. not inside) components will no longer re-render and will persist and preserve changes the user makes to form elements.
Let's wrap a new <div> element around the Siteglide tag which gets our results and add the new data-attribute: data-sg-live-update-component="results" .
Example<div data-sg-live-update-component="results"> {%- include 'modules/siteglide_system/get/get_items', item_layout: 'item' -%} </div>
Now the results will update when we the user types in the search box, but their entries so far will not be lost as the form is not inside the component.
It's required to give the component a unique value in its data-attribute so the API can match up the component in the DOM with the component in the re-rendered document. If you use logic in Liquid which hides the data-attribute from the results, an error will be thrown. While the value must be unique, it can be anything you like, though it’s best to describe what’s inside e.g. ‘results’.
Checking this in the network tab, we can now see that both the search and the checkbox selections persist:

That's the basics of the Live Update API. You can style your HTML and CSS and add more form controls.
Learn more:
Check out the API Reference Guide each time you want to look something up.
How to add sort buttons
How to add custom toggle buttons
How to set up pagination
How to use a method to change advanced settings