Legacy AWS External Domains
If your site is hosted on our AWS servers
If using AWS please follow the steps below, contact us if you're unsure which stack you are on.
Step 1: Add a Domain
Navigate to the Domains tab on the Site and click Add Domain:

Step 2: Choose External

Step 3: Enter Domain Details
Type in the root domain without www and you'll likely want to set it as the Default Domain and Enable WWW Redirect. Then click Add Domain:

Important Note: Your domain can take up to a few minutes to be fully added to the system. Please check back and refresh the page shortly.
Step 4: Add SSL Verification CNAME
Once your domain has finished creating in the system, it's status will change to "Ownership Verification Pending" which means it is now ready.

Add the generated CNAME record to in your DNS control panel to verify ownership, generate an SSL certificate and automatically apply it to your site during the next step.
GoDaddy example:
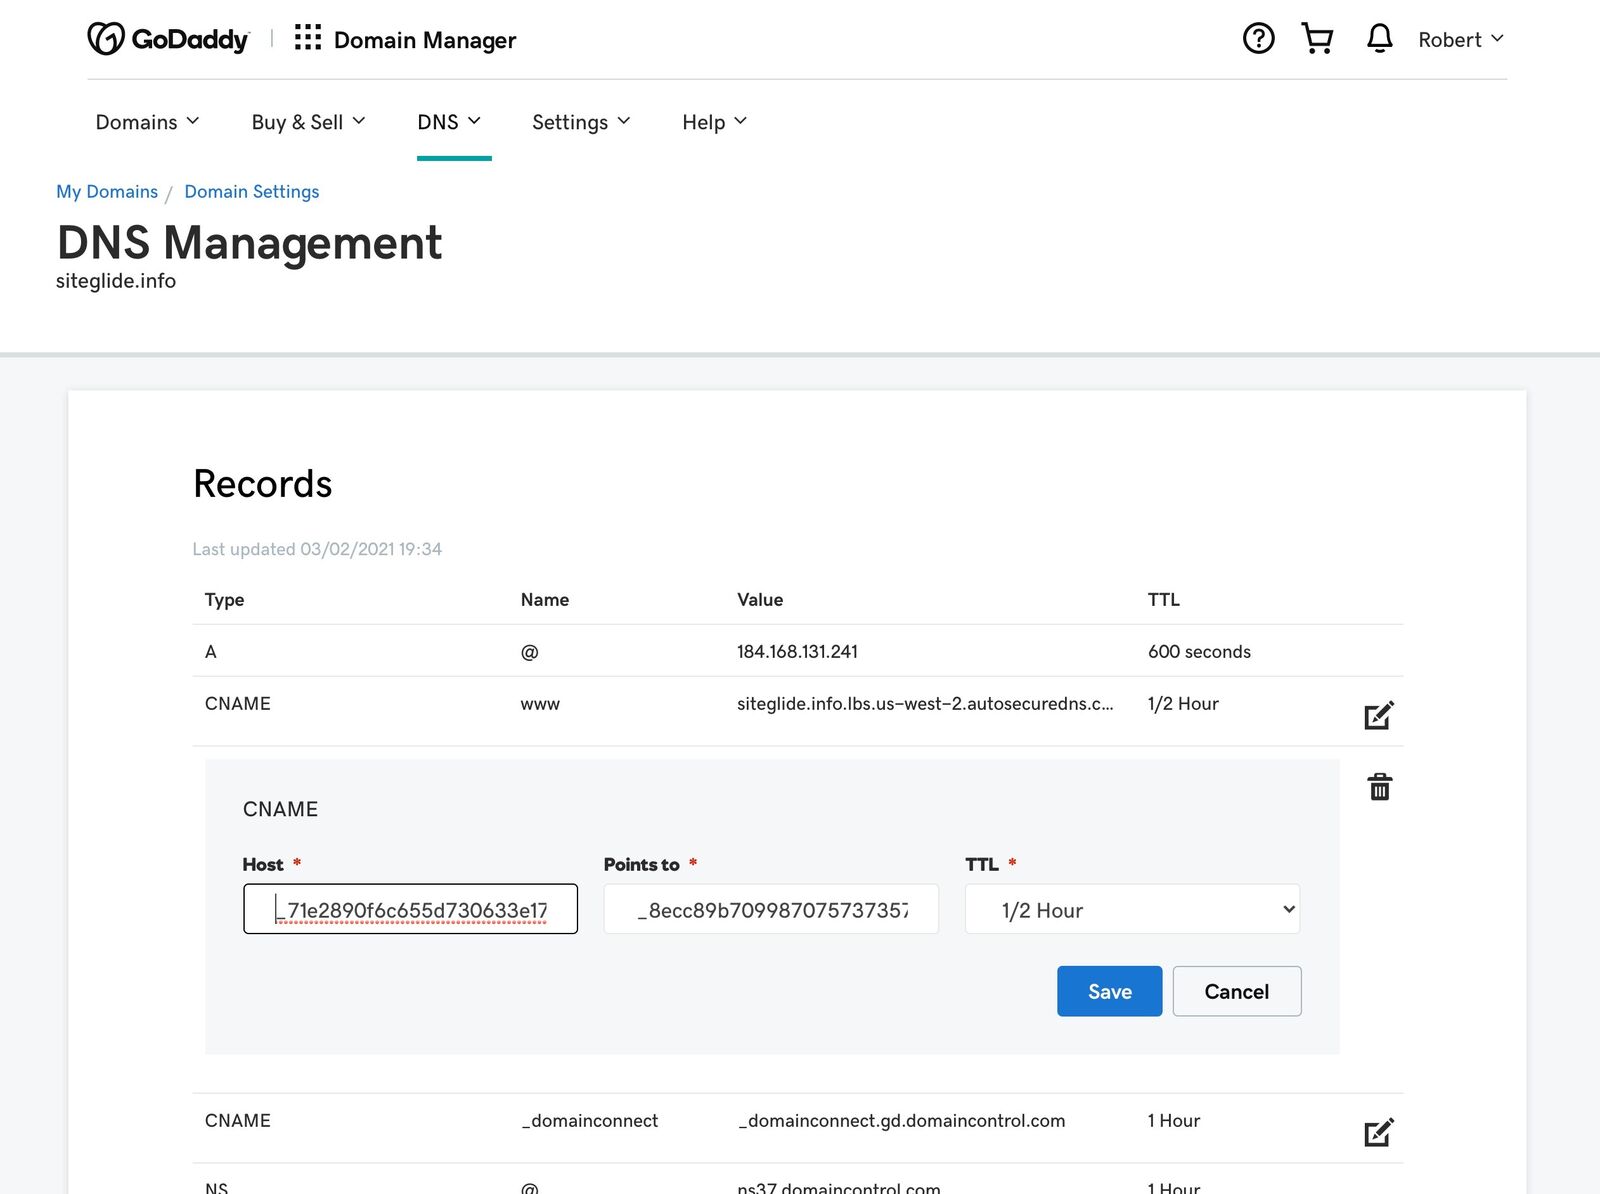
Once you have saved the record in your registrar, allow some time for propagation, check back and refresh the page.
Important Note: The CNAME verification record must NOT be deleted at any point otherwise the SSL certificate will not renew.
Step 5: Add WWW CNAME Record
Once the verification CNAME record has propagated the WWW CNAME Record needs to be added in your DNS Control Panel (GoDaddy example):

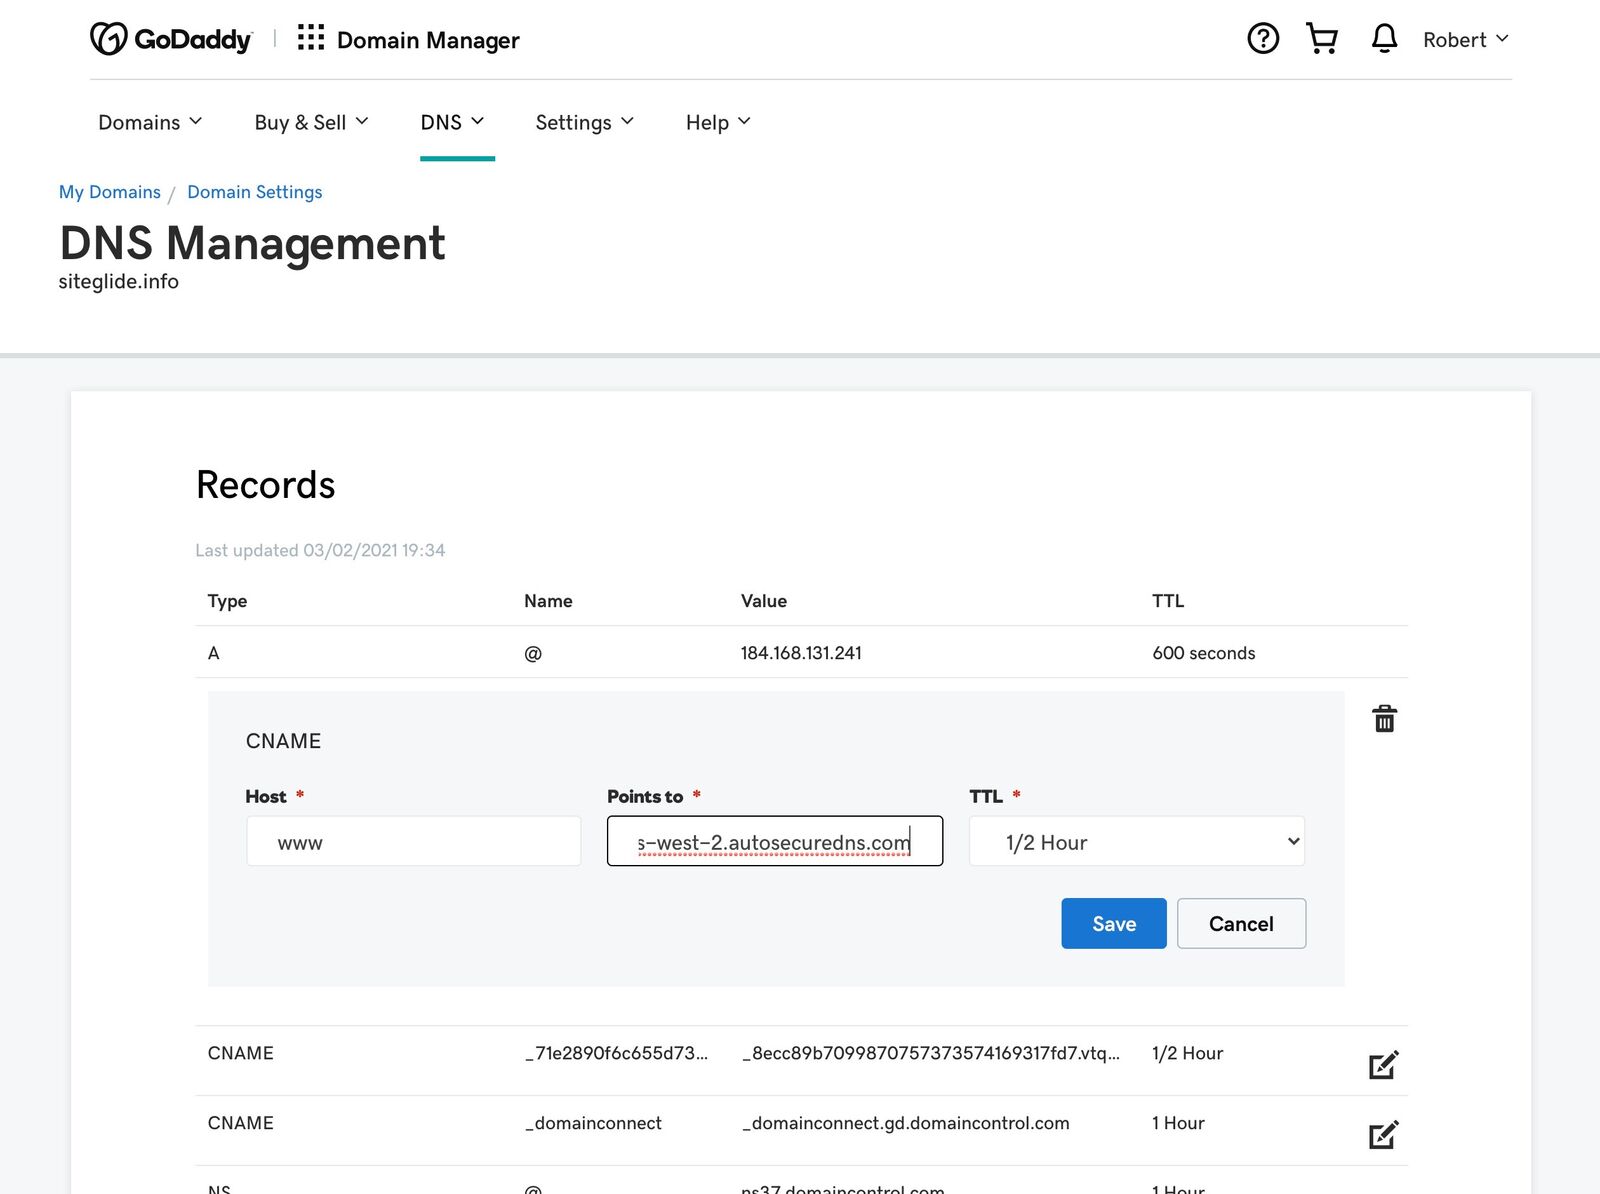
The site will now be live via WWW (https://www.domain.com) but not via the root domain (https://domain.com). Complete Step 5 to fully setup the domain correctly. The domain should show as 'Live' under the Status column in Siteglide:

Forward the Root/@ to the www (with SSL)
Most DNS Control Panels cannot correctly redirect the root traffic to the WWW over SSL so we recommend using an external service called Redirect.Pizza.
Just follow these steps to redirect your non-www to the www variant. The non-www is also sometimes called naked record or "apex" (screenshots below):
Create a redirect.pizza account.
Add your source. This should be the domain without www. For instance, enter example.com as your source.
Set the destination to the variant with www. Example: www.example.com
In most cases, you will want the setting for "Path forwarding" and "Query string forwarding" set to "Yes". If set to "No", all non-www pages will redirect to your www homepage.
Press "Create redirect"
The required DNS change pops up. Go to your domain registrar to make this DNS change for the A record. This record may already exists '@'. Press 'edit' to edit it to the required DNS setting for redirect.pizza. For more info, see What are these DNS changes?
The DNS change is made! It may take up to 24 hours before the DNS is fully propagated.


These Steps can also be found here: https://redirect.pizza/support/redirecting-non-www-to-www
Last updated
Was this helpful?